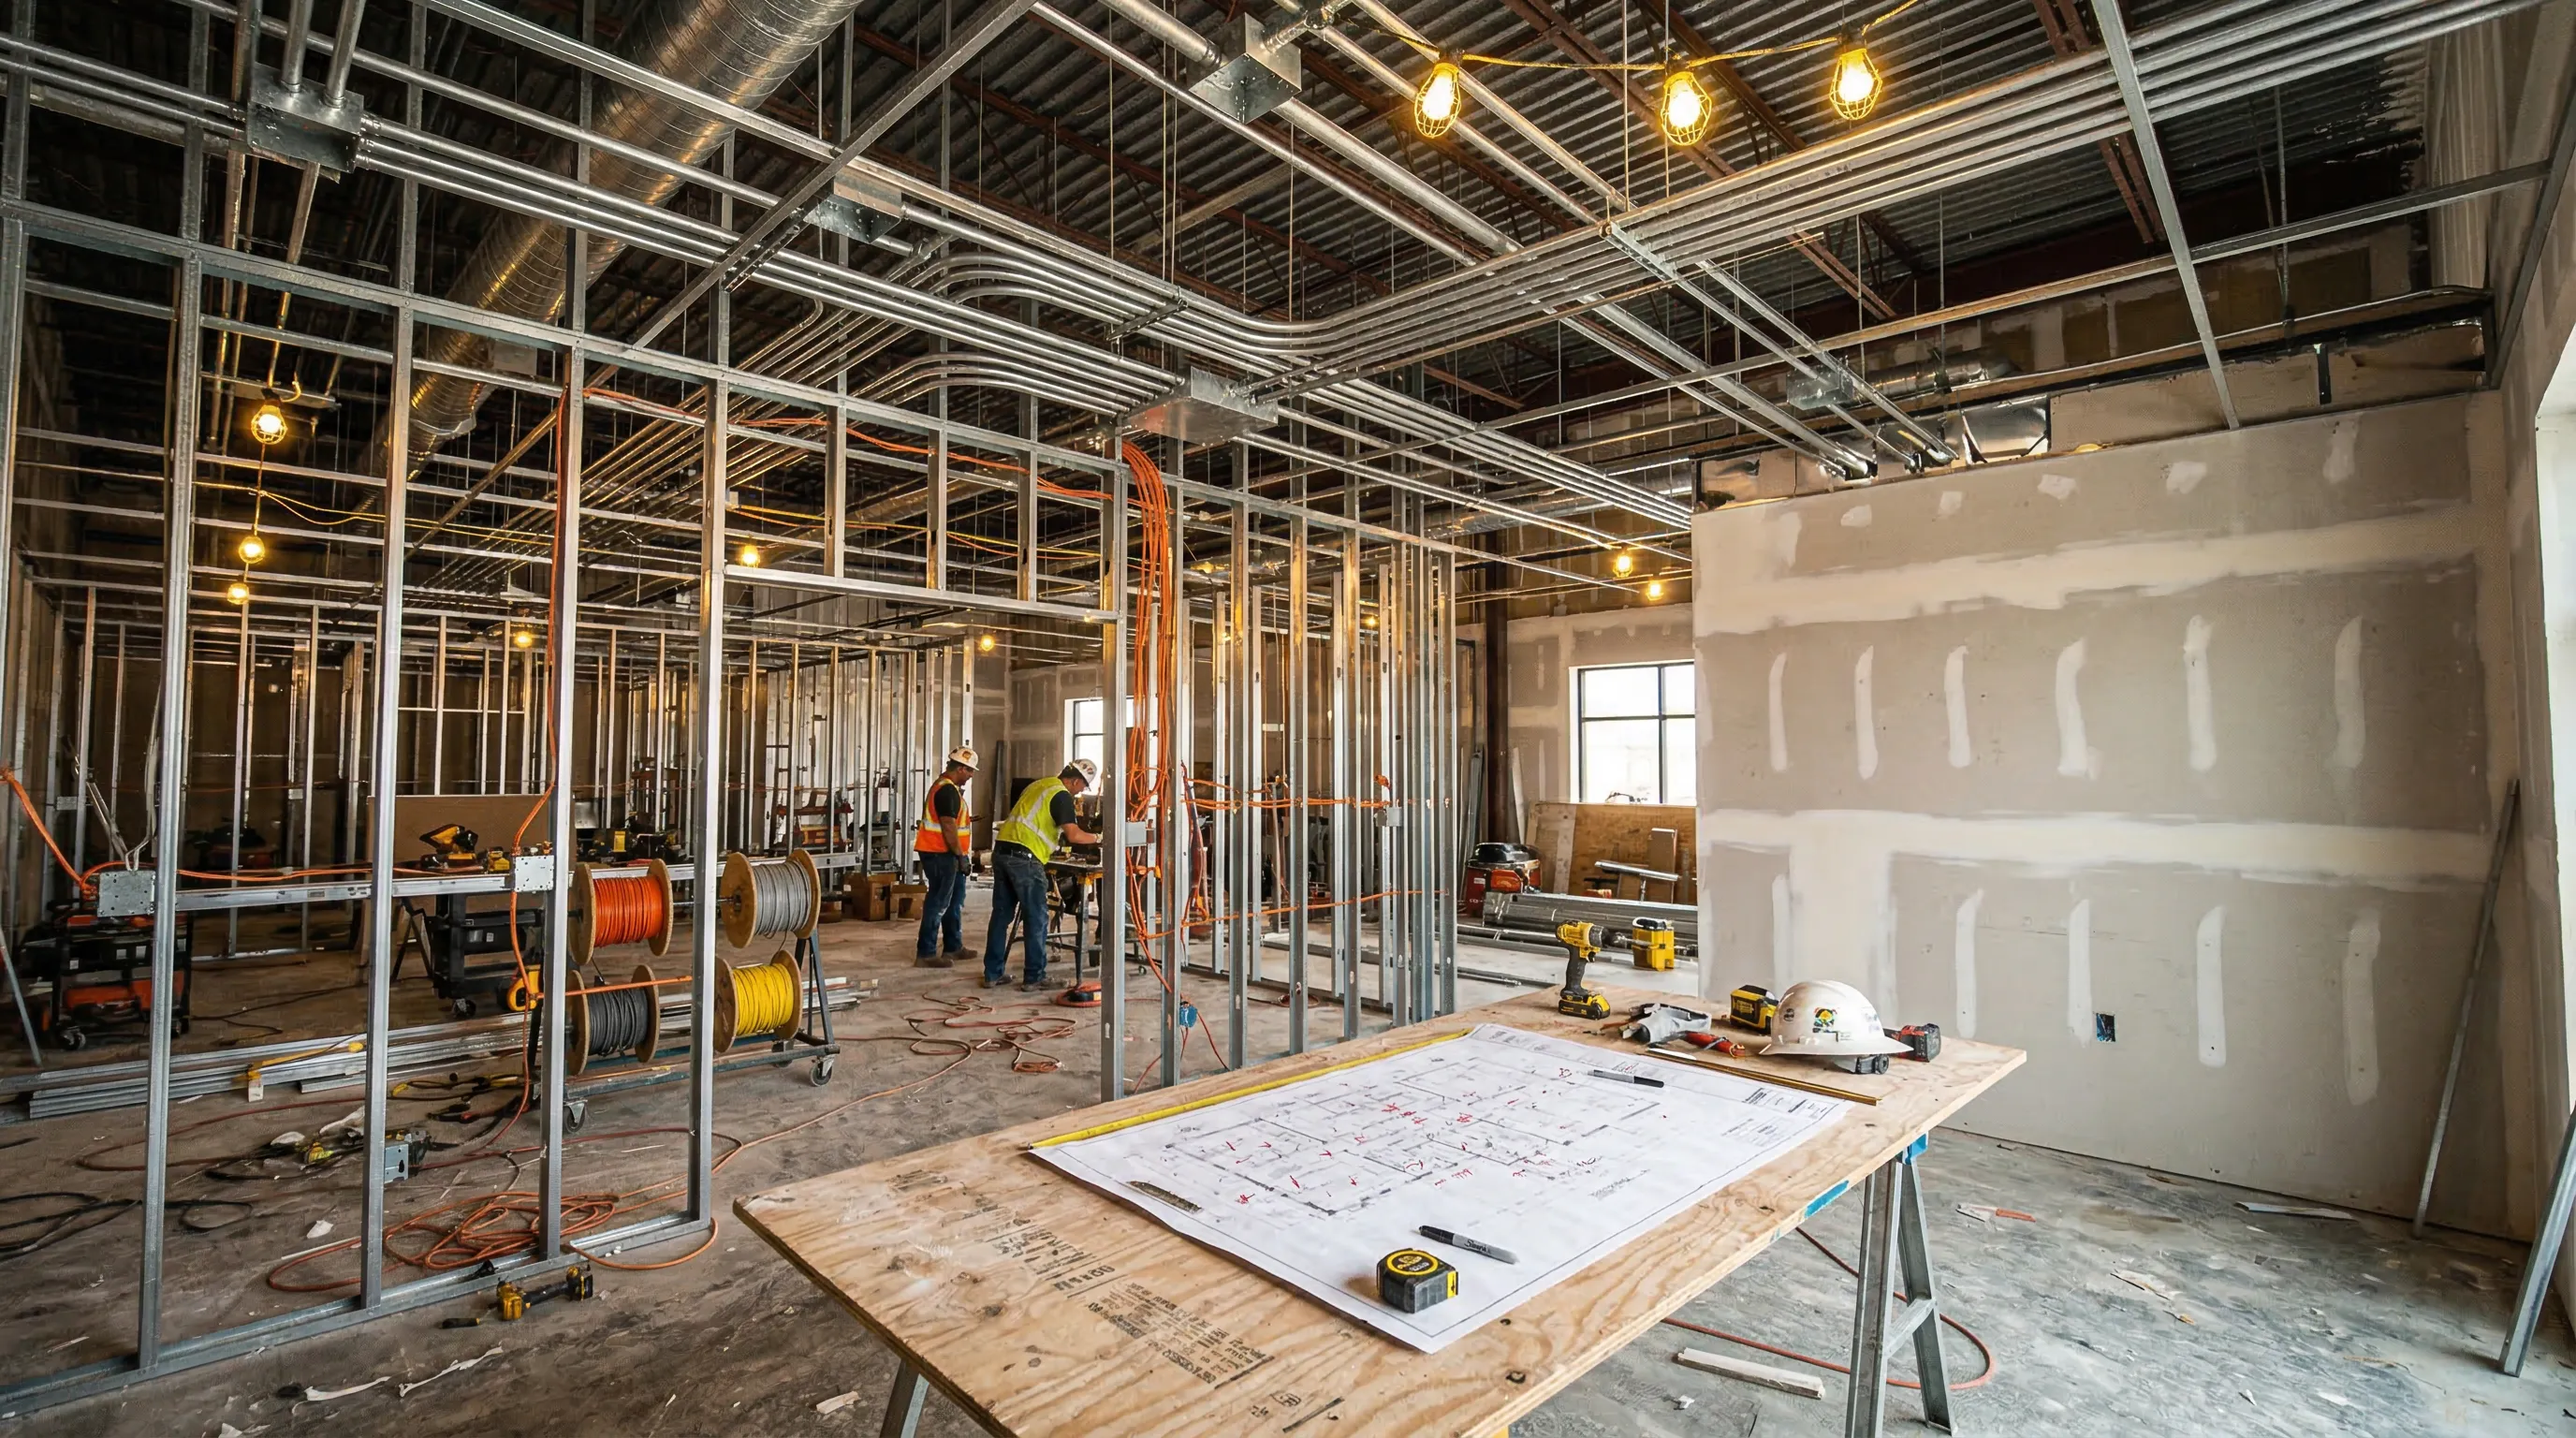
You've signed the lease on a commercial space in Atlanta. Maybe it's a storefront on Peachtree, an office suite in Dunwoody, or a restaurant space in Ponce City Market. The floor plan shows walls, doors, and windows — but the electrical layout from the last tenant doesn't match your business at all. The outlets are in the wrong places, the lighting is fluorescent and yellowing, and there's no dedicated power for the equipment you need. That gap between what exists and what your business requires is what tenant improvement (TI) electrical work fills.
TI electrical is the most common type of commercial electrical project we handle at JD Works Electrical. Every new tenant occupancy is different, and the electrical scope varies dramatically based on the previous use, the new use, and the condition of the existing infrastructure. Here's what the process looks like from start to finish.
Phase 1: Site Assessment and Scope Definition
Before anything gets drawn up or priced, an electrician walks the space with the tenant (or their general contractor) to assess what exists and what needs to change. The assessment covers:
- Existing panel capacity. Does the electrical panel serving this unit have enough amperage for the new use? A previous office tenant running computers and lights may have been served by a 100-amp sub-panel. A new restaurant tenant with commercial ovens, walk-in coolers, and a hood system may need 200-400 amps.
- Circuit inventory. What circuits exist, where do they run, and what condition are they in? This determines how much of the existing wiring can be reused and how much gets demolished.
- Lighting layout. The new floor plan dictates where lights need to go. Open-plan offices need a different grid than private exam rooms or retail display areas.
- Specialty equipment. Medical offices need dedicated circuits for imaging equipment. Restaurants need high-amperage circuits for kitchen gear. Salons need outlets at every station. The equipment list drives the electrical design.
- Data and communication. Structured cabling (Ethernet drops, wireless access point locations, phone lines) is often part of the electrical scope in TI projects.
Phase 2: Design and Permitting
Based on the assessment, the electrician produces an electrical plan showing every outlet, switch, fixture, dedicated circuit, and panel schedule. For projects in the City of Atlanta and surrounding jurisdictions, this plan goes to the building department for review before a permit is issued.
The permitting timeline varies by jurisdiction:
- City of Atlanta: Plan review for commercial electrical typically takes 2-4 weeks. Expedited review is available for an additional fee.
- Fulton County (unincorporated): 1-3 weeks for standard review.
- DeKalb County: 2-3 weeks typical turnaround.
- Cobb County: Generally 1-2 weeks for commercial electrical plan review.
Build the permitting timeline into your overall project schedule. Electrical plan review happens in parallel with other trades (plumbing, mechanical, fire protection), so it doesn't necessarily add weeks to the total project — but it must start early enough to avoid becoming the bottleneck.
Pro Tip
Submit your electrical plans for permit review on day one of the TI project. Plan review runs in parallel with other trades, but if it starts late, it becomes the bottleneck that delays your Certificate of Occupancy and your tenant's move-in date.
All new electrical work must meet current code compliance standards, even in older buildings. This sometimes means upgrading components that the previous tenant's installation didn't require.
Phase 3: Demolition and Rough-In
Once the permit is in hand, the electrical work begins in two stages. The first stage — demolition and rough-in — happens before drywall goes up on new walls.
Demolition
Circuits, switches, outlets, and fixtures from the previous layout that aren't being reused get removed. Wires are disconnected and abandoned in place or pulled out entirely. Old lighting fixtures come down. This step is especially extensive when the occupancy type changes dramatically — converting a call center with 40 cubicle workstations into an open yoga studio, for example, means pulling most of the existing branch circuits.
Rough-In
New wiring is run through wall framing, above the ceiling grid, and through conduit where required. Junction boxes for outlets, switches, and fixtures get mounted at the correct heights. Dedicated circuits run back to the panel. Fire alarm and emergency lighting circuits get roughed in if they're part of the scope.
The rough-in phase is when coordination with other trades matters most. Electrical wiring shares wall cavities and ceiling spaces with HVAC ductwork, plumbing pipes, and fire sprinkler lines. A good general contractor sequences these trades to avoid conflicts — but the electrician also needs to be proactive about protecting their work.
Phase 4: Finish and Trim-Out
After drywall is installed, painted, and the ceiling grid is in place, the electrician returns for the trim-out phase:
- Install outlets and switches into the boxes roughed in earlier
- Hang and wire light fixtures
- Install cover plates
- Connect specialty equipment (HVAC disconnects, water heater circuits, kitchen equipment)
- Program lighting controls and dimmers
- Complete fire alarm device installation (if applicable)
- Label all panels, circuits, and disconnects
Free Download: Seasonal Electrical Maintenance Checklist
Keep your home's electrical system safe year-round with our printable seasonal checklist — built by a master electrician.
Get the Free ChecklistPhase 5: Testing and Inspection
Before the space can receive a Certificate of Occupancy, the electrical installation must pass inspection. The electrician schedules the inspection with the local building department, meets the inspector on-site, and walks the job.
Inspectors verify:
- Correct wire sizing for each circuit's breaker rating
- Proper grounding and bonding throughout the system
- GFCI and AFCI protection where required
- Panel directory accuracy
- Working clearance at panels and disconnects
- Emergency lighting and exit sign operation
- Conformance with the approved plan set
A first-pass inspection saves days or weeks of schedule. Our commercial electrical team self-inspects every job against the approved plans before calling for the official inspection.
Common Surprises in TI Electrical Projects
Even with a thorough assessment, tenant improvement projects occasionally uncover unexpected conditions:
- Hidden code violations from previous tenants. Open splices above the drop ceiling, overloaded circuits hidden behind walls, and abandoned live wires are discovered during demolition. These must be corrected as part of the new work.
- Insufficient panel capacity. The existing sub-panel may not have enough slots or amperage for the new use. A panel upgrade or sub-panel addition gets added to the scope.
- Asbestos in old wiring insulation. Buildings constructed before 1980 may have asbestos-containing materials in wire insulation, ceiling tiles, or pipe wrap. Disturbing these materials requires licensed abatement before electrical work can proceed.
- Shared circuits with adjacent tenants. In multi-tenant buildings, we occasionally find that a circuit in the space being built out also feeds outlets or lights in the neighboring unit. Separating these circuits is necessary to give each tenant independent control of their power.
Pro Tip
The best TI electrical projects start early — bring the electrician in during lease negotiations, not after the lease is signed. Understanding the electrical infrastructure before you commit to a space prevents expensive surprises after construction starts.
Frequently Asked Questions
It depends on the lease. In many Atlanta commercial leases, the landlord provides a tenant improvement allowance (TIA) that covers a portion of buildout costs, including electrical. Work beyond the TIA is the tenant's responsibility. Some leases are "vanilla shell" where the landlord delivers basic electrical to the space and the tenant funds all customization. Review your lease's improvement clause before planning.
For a standard 2,000-5,000 square foot office or retail tenant improvement, the electrical rough-in takes 3-7 days. Fixture installation and trim-out after drywall takes another 2-4 days. Add 1-2 weeks for permitting and plan review before work begins, and 1-3 days for final inspection. Total timeline for the electrical scope: 4-6 weeks from permit submission to final inspection.
Yes. Any tenant improvement that adds, relocates, or modifies electrical circuits requires a permit from the local building department. The City of Atlanta, Fulton County, DeKalb County, and other metro jurisdictions all require plan review and inspection for commercial electrical modifications. The contractor pulls the permit and coordinates the inspections.
Planning a Tenant Buildout?
JD Works Electrical handles commercial tenant improvement electrical work across metro Atlanta — from site assessment and permitting through final inspection. Get the electrical right from day one.
Request a TI Electrical Estimate