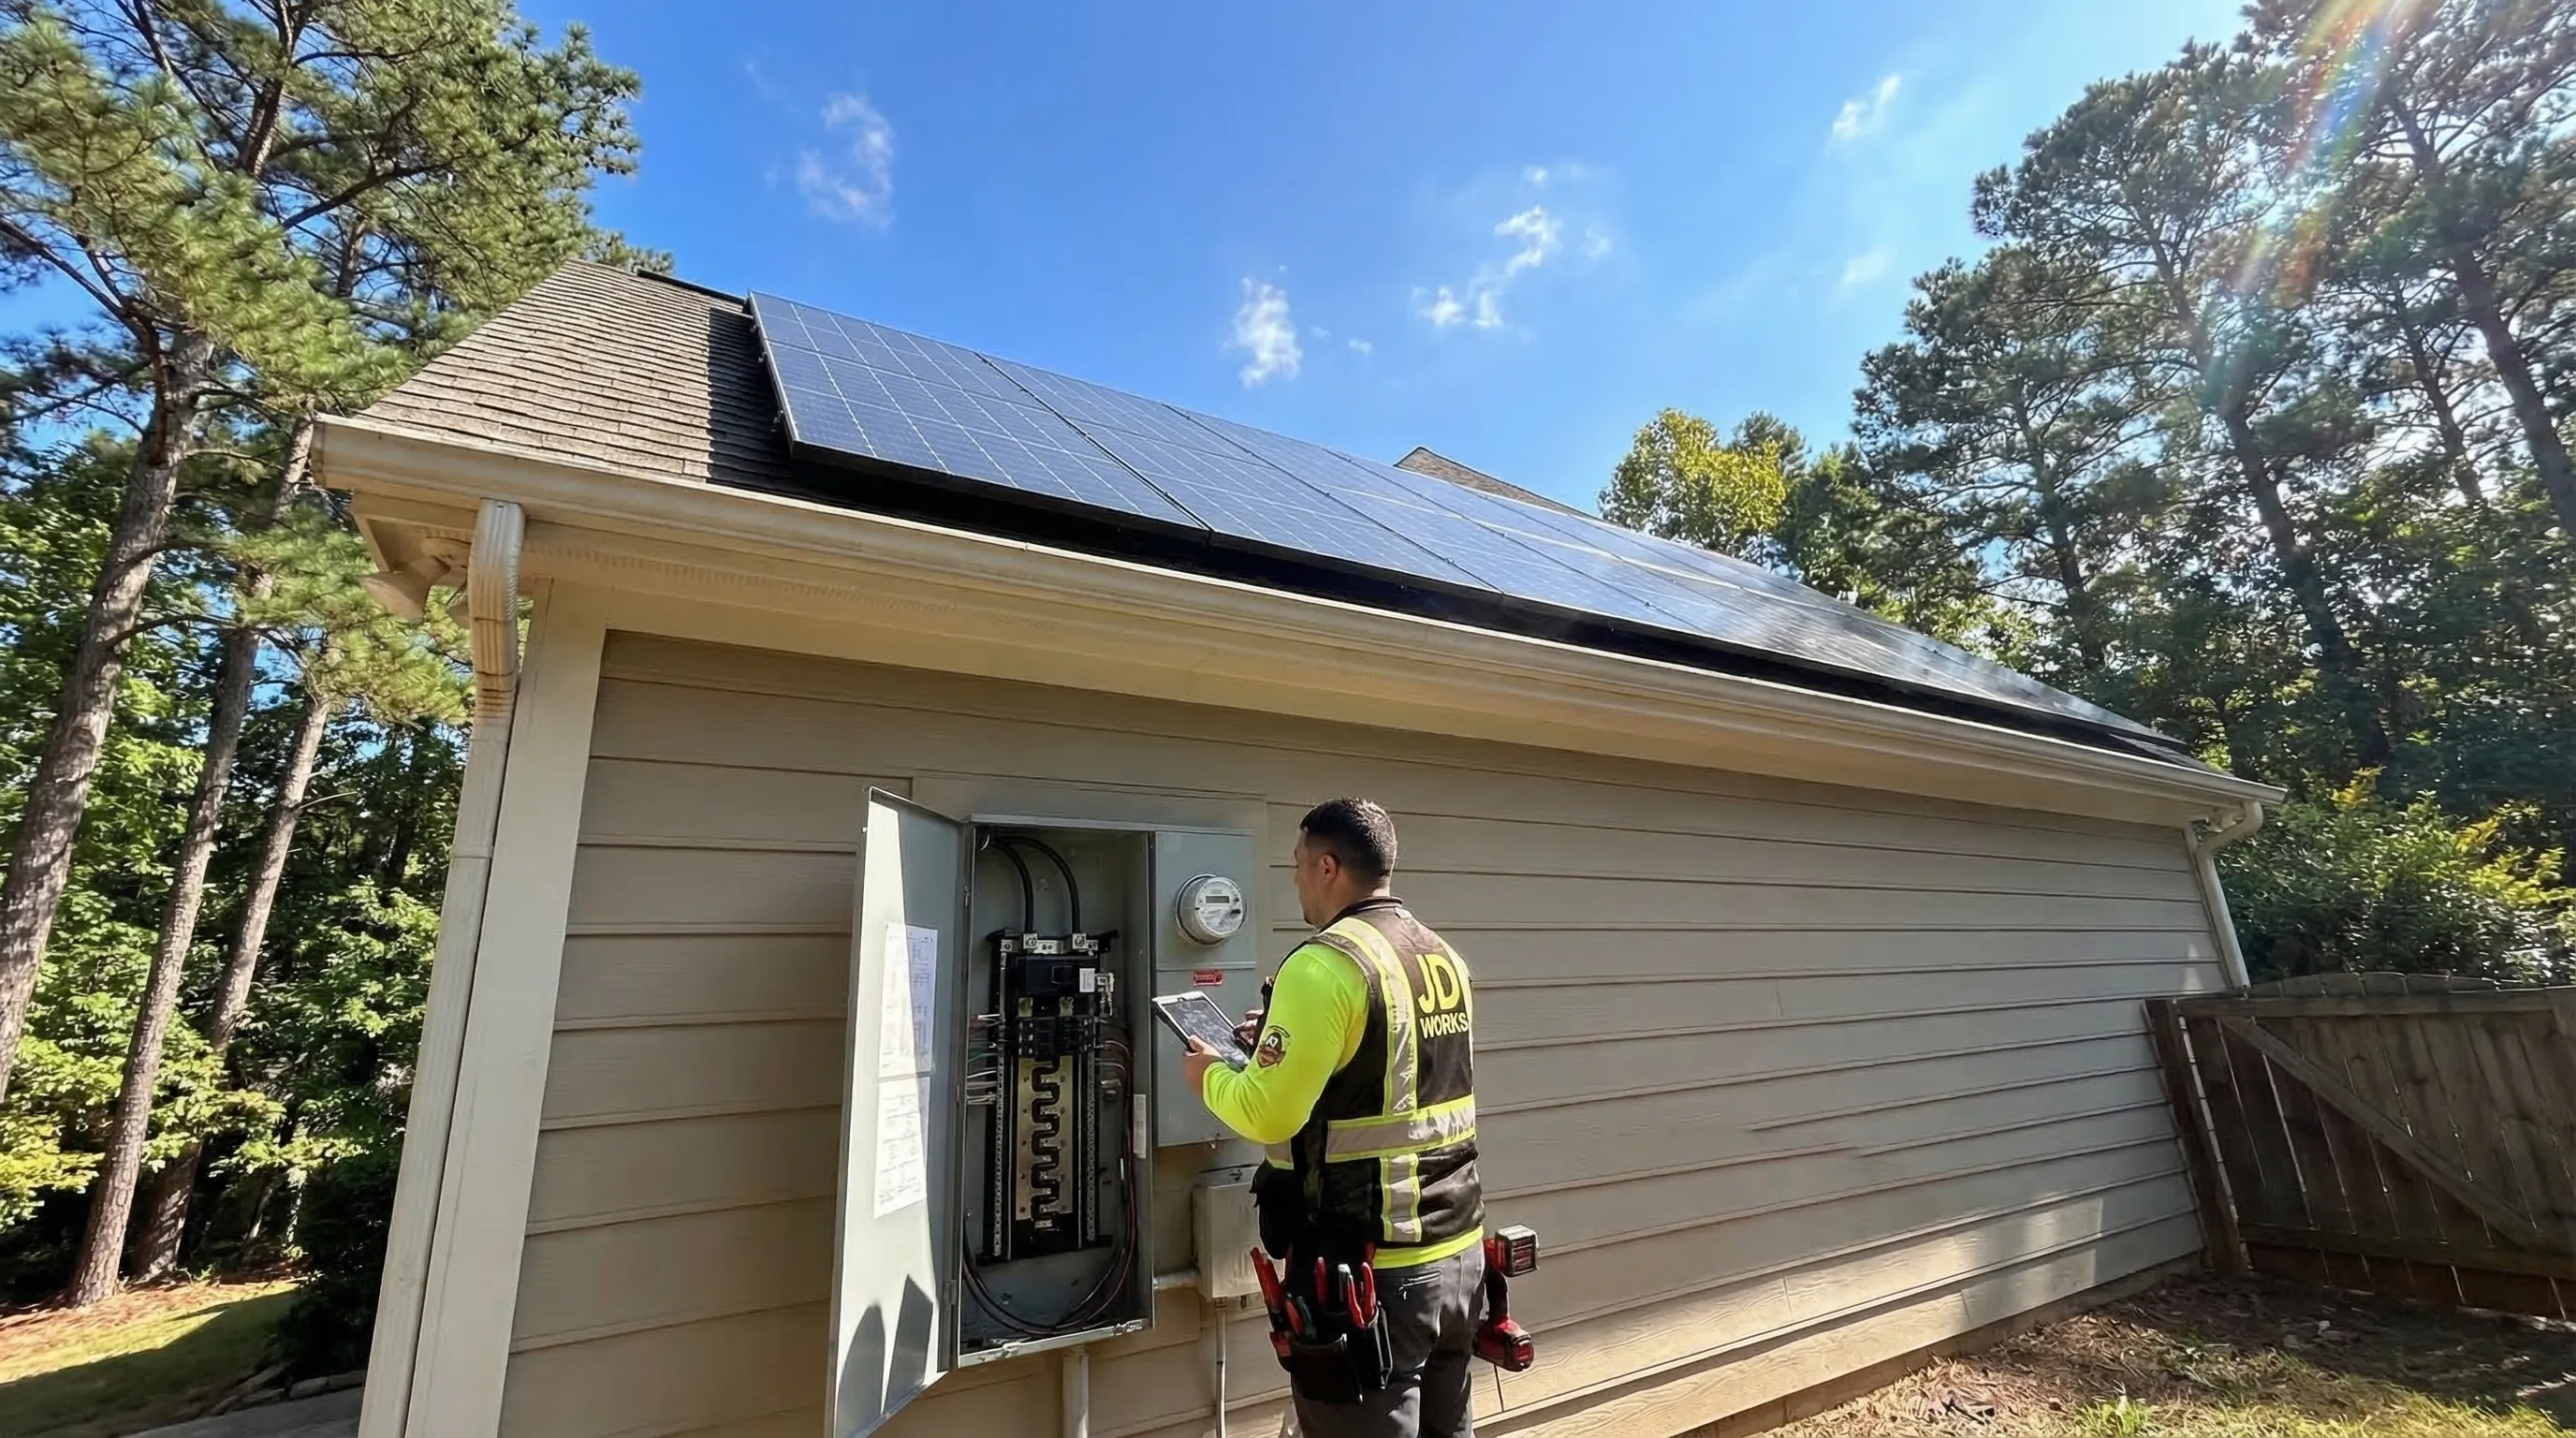
Metro Atlanta gets an average of 218 sunny days per year and receives about 5.0 peak sun hours per day — making it one of the better solar markets in the Southeast. The federal solar tax credit covers 30% of installation costs through 2032, and Georgia exempts solar panels from property tax assessments. The economics have never been better for residential solar in this area.
But before a single panel goes on your roof, your home's electrical system needs to be ready. The solar installer handles the panels and inverter. The electrical work — panel capacity, wiring, metering, code compliance, and interconnection — is where a licensed electrician comes in. This article breaks down every electrical requirement you need to understand before going solar in Atlanta.
Panel Capacity: The 120% Busbar Rule
The National Electrical Code (NEC) Section 705.12(B)(2) limits the total current feeding into a panel to 120% of the busbar rating. This is the single most important electrical constraint for residential solar. Here is how it works.
A 200-amp panel has a 200-amp busbar. The main breaker is 200 amps. Under the 120% rule, the total of the main breaker plus the solar backfeed breaker cannot exceed 240 amps (200 x 1.2). That means you can install up to a 40-amp solar breaker, which supports approximately 7,680 watts (40A x 240V x 0.8 safety factor) — enough for a 7-8 kW solar system.
A 100-amp panel has a 100-amp busbar. Under the 120% rule, total feed-in is capped at 120 amps. The main breaker already takes 100 amps, leaving only 20 amps for solar — about 3,840 watts, or roughly a 3.5 kW system. That is too small to meaningfully offset an Atlanta home's electricity consumption, which averages 1,100-1,400 kWh per month.
Bottom line: if your home has a 100-amp panel and you want a solar system larger than 3.5 kW (which is most people), you need a panel upgrade to 200 amps before the solar installation begins.
Important
The NEC 120% busbar rule limits solar backfeed capacity based on your panel rating. A 100-amp panel only allows a 20-amp solar breaker — enough for roughly a 3.5 kW system. Most Atlanta homeowners need 7-10 kW, which requires a 200-amp panel. Confirm your panel capacity before signing a solar contract.
Inverter Types and Their Electrical Requirements
Solar panels produce direct current (DC). Your home runs on alternating current (AC). The inverter converts DC to AC. The type of inverter your system uses affects wiring, panel requirements, and performance.
String Inverters
A single inverter mounted on the wall near your panel converts the output of all panels wired together in a "string." This is the simplest and least expensive option. Electrical requirements: a dedicated 240V circuit from the inverter to the panel, typically using 8-gauge or 6-gauge wire depending on system size. The inverter mounts within 15-20 feet of the panel for optimal wire run.
Microinverters
Each panel gets its own small inverter mounted underneath it on the roof. The AC output of each microinverter feeds into a trunk cable that runs to your panel. Microinverters are more expensive per watt but offer panel-level monitoring, better performance in partial shade, and automatic compliance with rapid shutdown requirements. Electrical requirements: a dedicated AC circuit from the trunk cable junction to the panel, and the trunk cable routed along the racking.
String Inverter with DC Optimizers
A hybrid approach. Each panel gets a DC optimizer (like SolarEdge) that maximizes its individual output, and the optimized DC feeds to a central string inverter. This combines the cost advantage of a string inverter with the panel-level performance benefits of microinverters. Electrical requirements are similar to a standard string inverter, plus the optimizer wiring at the roof level.
Rapid Shutdown Compliance
NEC 2020 (adopted by Georgia with amendments) requires module-level rapid shutdown for all new rooftop solar installations. This safety requirement ensures firefighters can quickly de-energize the system during an emergency.
What rapid shutdown means in practice: within 30 seconds of the system being shut down (either at the inverter or at a dedicated rapid shutdown switch near the meter), the voltage on any rooftop conductor must drop below 80 volts and 30 volts within 30 seconds at the array level.
Microinverters comply automatically — when the AC circuit is de-energized, each microinverter shuts down independently. String inverters require either DC optimizers (SolarEdge) or dedicated rapid shutdown devices (Tigo, APsystems) added to each panel. This is a code requirement, not an option, and it adds to system cost and wiring complexity.
Free Download: Seasonal Electrical Maintenance Checklist
Keep your home's electrical system safe year-round with our printable seasonal checklist — built by a master electrician.
Get the Free ChecklistWiring and Conduit Requirements
The wire run from the solar installation to your electrical panel involves several components:
DC Wiring (Roof to Inverter)
For string inverter systems, DC wiring runs from the panels on the roof down to the inverter location. This typically uses 10-gauge or 8-gauge USE-2 or PV wire rated for 600V DC, routed through conduit (EMT or PVC) from the roof penetration to the inverter. The conduit must be securely mounted, properly sealed at the roof penetration, and accessible for maintenance.
AC Wiring (Inverter to Panel)
The inverter's AC output connects to the electrical panel via a dedicated circuit. Wire gauge depends on the inverter output: most residential inverters up to 7.6 kW use 8-gauge THWN in 3/4-inch conduit. Larger systems may require 6-gauge wire. The wire run should be as short as possible to minimize voltage drop — ideally under 50 feet.
Grounding
The solar racking system, panels, inverter, and all metallic components must be bonded and grounded per NEC 690. A separate equipment grounding conductor runs from the array through the conduit to the panel's grounding bus. If your home's grounding electrode system is undersized (common in older Atlanta homes), it may need upgrading as part of the solar installation.
Georgia Power Interconnection and Net Metering
Before your solar system can feed energy back to the grid, you need an approved interconnection agreement with Georgia Power. Here is the process:
- Application: Submit an interconnection application to Georgia Power with your system design, equipment specifications, and site plan. Applications can be submitted online through Georgia Power's portal.
- Review: Georgia Power reviews the application to ensure the system meets their technical requirements and the local grid can accommodate the backfeed. For systems under 10 kW (most residential), this is typically a fast-track review taking 5-15 business days.
- Meter upgrade: Georgia Power installs a bidirectional meter at no charge. This meter tracks energy flowing in both directions — what you consume from the grid and what you export.
- Permission to operate (PTO): After the system passes the local building inspection and the meter is installed, Georgia Power issues PTO. Do not turn on your system before receiving PTO — doing so violates the interconnection agreement and can damage the system.
Net Metering Details
Georgia Power's net metering program credits excess solar energy at the retail rate. Credits carry forward month to month. System size is capped at 10 kW for standard residential net metering. At 10 kW, a south-facing roof in Atlanta produces roughly 13,000-15,000 kWh per year — enough to offset 80-100% of a typical home's consumption.
Permitting in Metro Atlanta
Solar installations require building permits in all metro Atlanta jurisdictions. The specific requirements vary by county and city:
- Fulton County / City of Atlanta: Building permit required. Plans must show electrical single-line diagram, structural calculations, and equipment specifications. Inspections include rough electrical (wiring and conduit) and final (system commissioning).
- DeKalb County: Building and electrical permits. Similar plan requirements to Fulton. Additional fire setback requirements for roof-mounted systems (3-foot pathway along ridgeline for firefighter access).
- Cobb County: Building permit with electrical review. Plan review typically takes 5-10 business days.
- Gwinnett County: Building and electrical permits. Structural engineering review required for systems over 5 kW on roofs older than 20 years.
Your solar installer typically handles the permitting paperwork, but the electrical portions (panel modifications, interconnection wiring, grounding) are the electrician's responsibility to specify and install correctly.
Combining Solar with Other Electrical Upgrades
If you are planning solar, it often makes sense to bundle other electrical work at the same time to reduce total cost and disruption.
- Panel upgrade + solar prep: If you need a 200-amp panel upgrade anyway, having the electrician install the solar backfeed breaker, conduit stub, and grounding upgrade during the panel project saves $500-$800 compared to doing them separately.
- Solar + EV charger: Both require significant panel capacity. Sizing the panel upgrade and wire runs for both at once is more efficient than sequential projects. Read our EV-ready electrical guide for details.
- Solar + battery backup: Adding a battery system (Tesla Powerwall, Enphase IQ Battery) requires additional electrical work at the panel, including a critical loads sub-panel. Planning for battery at the time of solar installation — even if you install the battery later — reduces future retrofit costs.
Pro Tip
The biggest mistake I see with solar installations in Atlanta is homeowners who skip the electrical assessment. They sign with a solar company, and then two weeks before installation discover their 100-amp panel cannot support the system. Now they are scrambling for a panel upgrade on a tight timeline. Get the electrical assessment done first, and you eliminate surprises.
Cost Summary for Solar Electrical Work
- Electrical assessment and load calculation: $150-$300
- 200-amp panel upgrade (if needed): $1,800-$3,500
- Solar interconnection wiring and breaker: $300-$800
- Conduit run (roof to panel): $200-$600 depending on distance
- Grounding upgrades (if needed): $200-$500
- Total electrical prep (without panel upgrade): $500-$2,000
- Total electrical prep (with panel upgrade): $2,500-$5,000
These costs are in addition to the solar system itself (panels, inverter, racking, installation), which typically runs $15,000-$25,000 for a 6-10 kW residential system in Atlanta before the 30% federal tax credit.
Frequently Asked Questions
In most cases, yes. A typical residential solar installation requires a 40-60 amp dedicated breaker for the inverter. Under the NEC 120% busbar rule, a 100-amp panel can only accept a 20-amp solar backfeed breaker — far too small for a meaningful solar system. A 200-amp panel allows up to a 40-amp solar breaker, which supports a 7-8 kW system. If your home has a 100-amp panel, plan on upgrading before or during the solar installation.
Rapid shutdown is an NEC requirement that allows firefighters to quickly de-energize rooftop solar panels in an emergency. NEC 2020 requires module-level rapid shutdown, meaning each individual panel must be able to reduce voltage to safe levels within 30 seconds. This requires either microinverters on each panel or DC optimizers paired with a string inverter.
Georgia Power's net metering program credits you at the retail rate for excess solar energy you export to the grid. Your meter tracks energy flowing in both directions. Credits carry forward month to month. The system size is capped at 10 kW for residential customers. Georgia Power installs a bidirectional meter at no charge after your interconnection agreement is approved. Learn more about maximizing your solar investment in our energy efficiency guide.
Planning to Go Solar? Start with an Electrical Assessment.
Find out if your panel, wiring, and grounding are ready for solar — before you sign with an installer. We handle the electrical prep so your solar project goes smoothly.
Schedule a Solar Readiness Assessment